Inventor
About Inventor
Inventor is a program where you can design a 3D object, that you can make in real life via a 3D printer. You are able to construct a object or objects of many sizes, along with very small and precise detail. A lot of engineers, architects, and inventors use this program because of its many features. This is why we are using inventor in our IDEA class to design 3D objects.
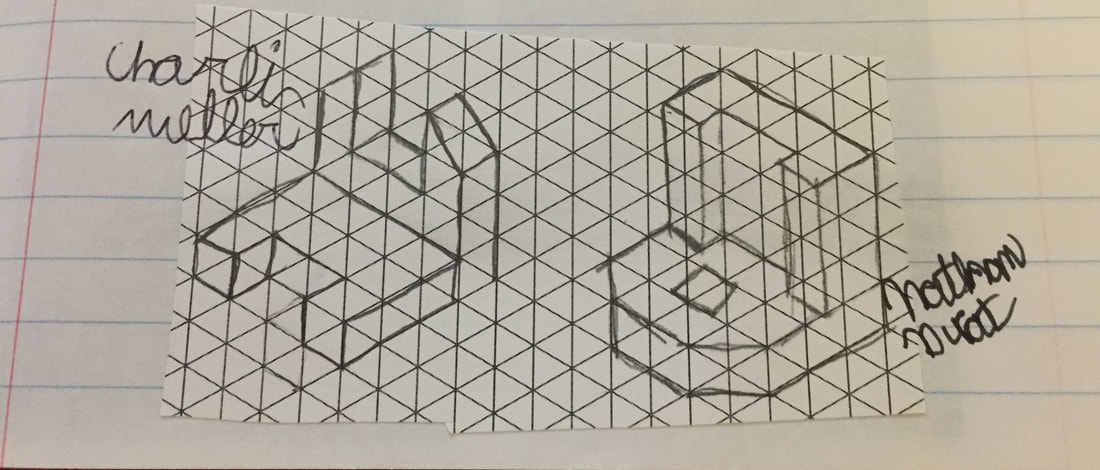
My widgets
Our project was to construct six widgets in Inventor, and to print one out in a 3D printer. Down below are some sketches of two widgets I would construct in Inventor
How to make a widget in Inventor
Right as you open Inventor, you will want to click "Part", creating the canvas that you will build on. Then you will click on create a 2D sketch.
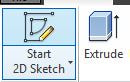
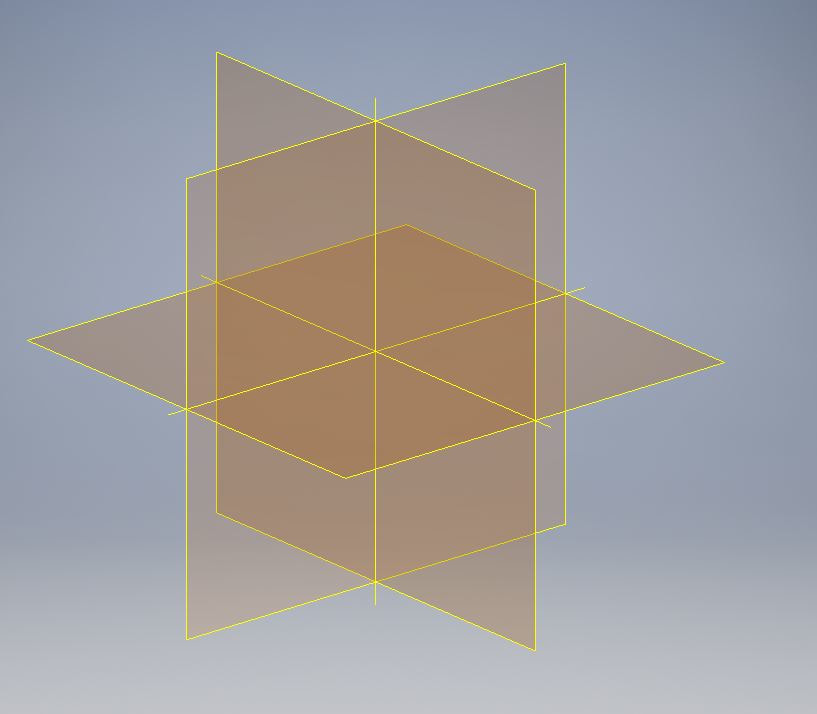
Then you will see three orange rectangles intersecting each other to represent what dimension you want to work on. Click on the one laying flat
After that you will see a flat surface. Click on the rectangle tool on the top bar. For now, just make a rectangle.
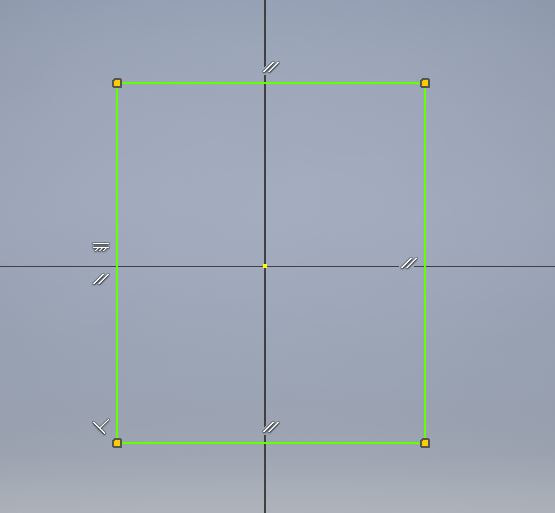
After that click the dimension tool in the top bar. then click on a side of the square and drag outward. Then let go.
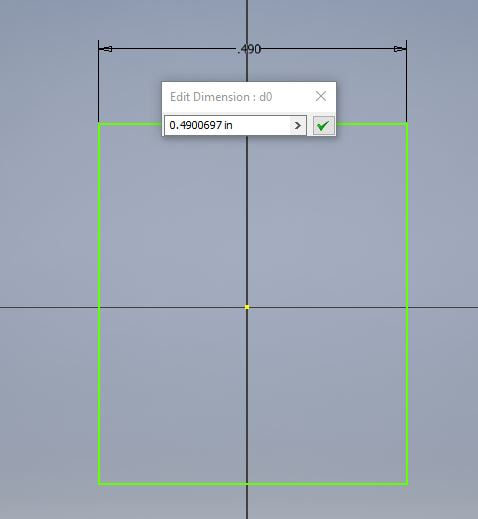
You will see the picture above. Change the length in the box to 1 inch. Then click the green check. You will see the size of the line change to 1 inch. Then do the same thing to the other side, and you will have a 1 x 1 square. Once you have your square, click finish sketch up in the top right.
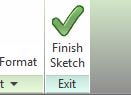
After you do that, you will want to click the extrude button, and change the amount of extrusion to one inch, so you have a cube.
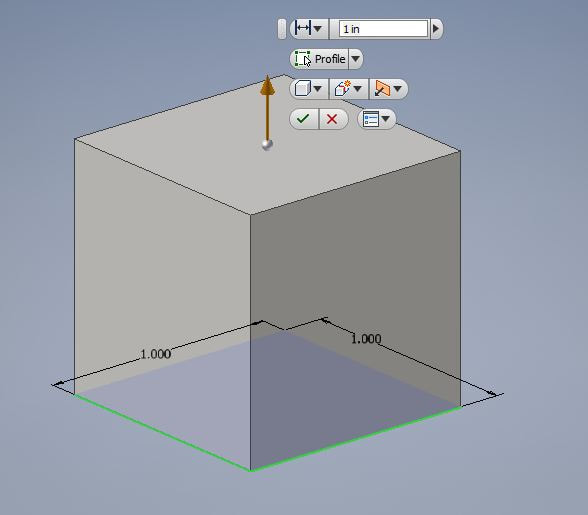
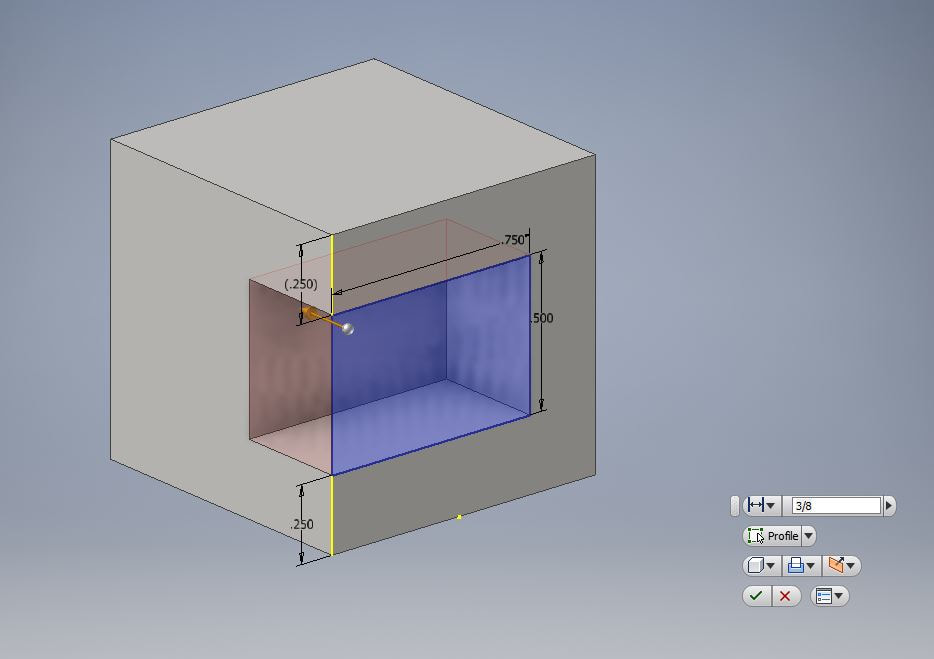
Next, you want to start carving it away, so start a 2D sketch on the right side of the cube and make the square and dimensions shown below.
Then you want to extrude it 3/8th backwards, by click the little the little arrow icon in the right part of the extrude box above the check mark. Chose the second option and the extrusion will go the other way. Then extrude the outline.
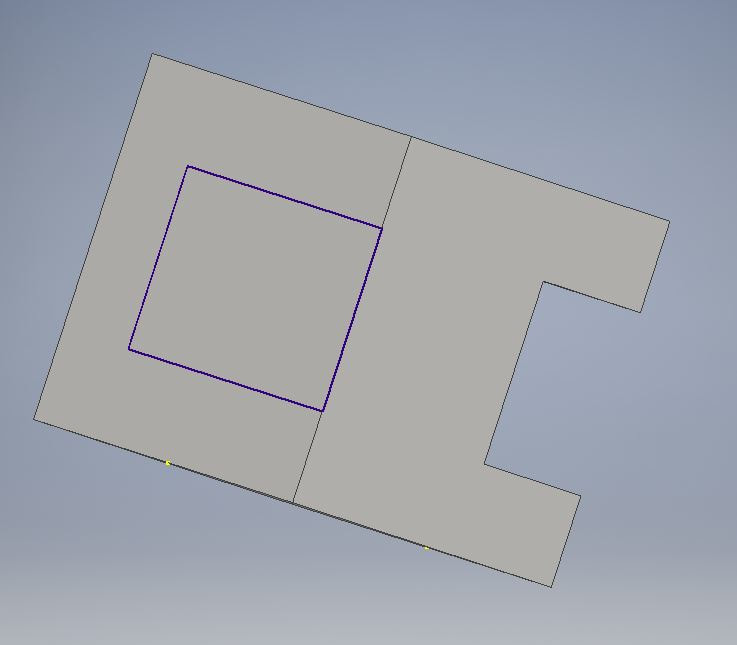
Once you have done that, do the same thing to the other side of the cube.
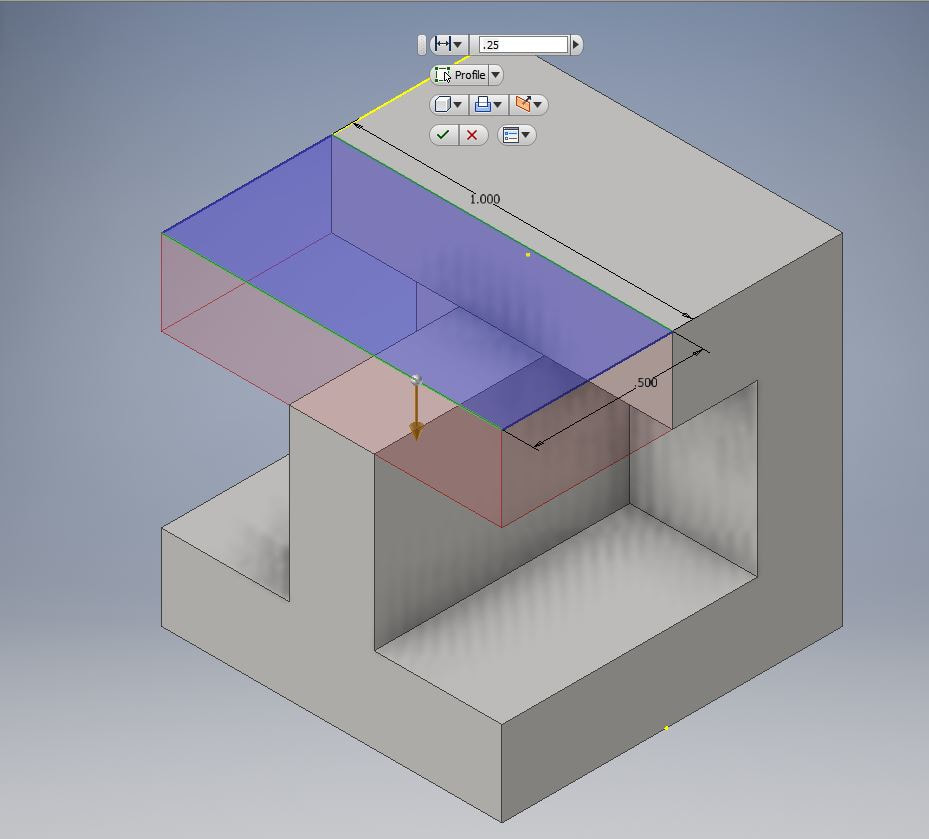
Once you have done that, cut a 0.5 x .25 x 1 box out of the top part of the cube shown below.
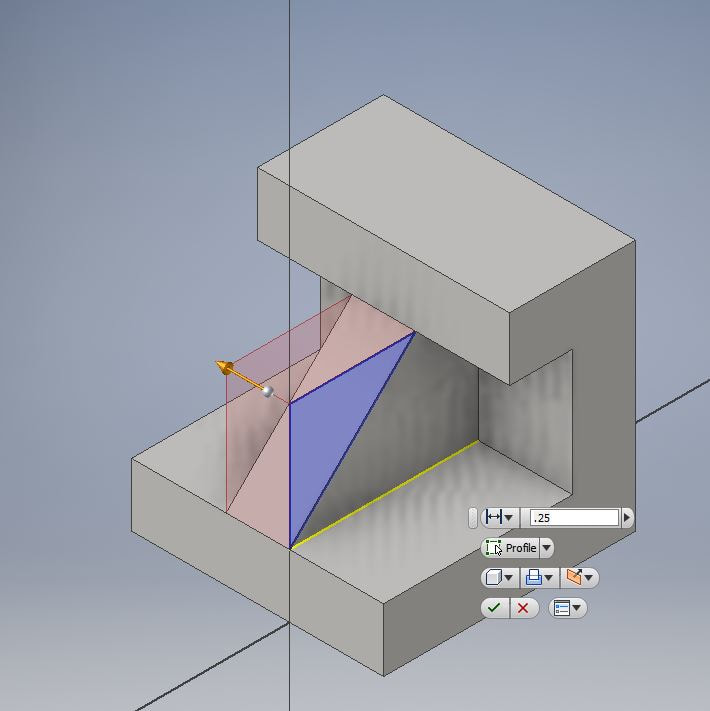
Then start a 2D sketch on the middle wall part of the cube. Using the line tool, make a right triangle on the top right corner shown below. You have to click on all of the points again to make the triangle while using the line tool.

Then dimension both of the straight sides by clicking on their two points and dragging out. Change them to .5 in each, then click ok. Then dimension backwards .25 as shown below.
Congratulations! You have finished designing your widget!
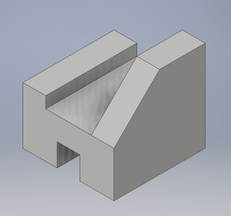
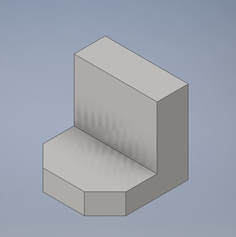
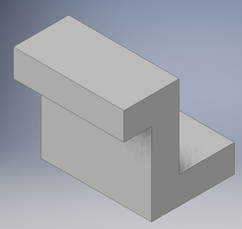
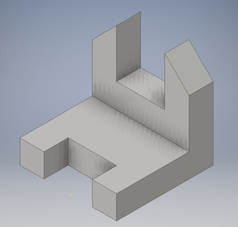
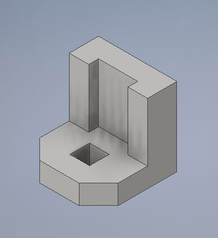
All of the widgets I designed

|
|
|
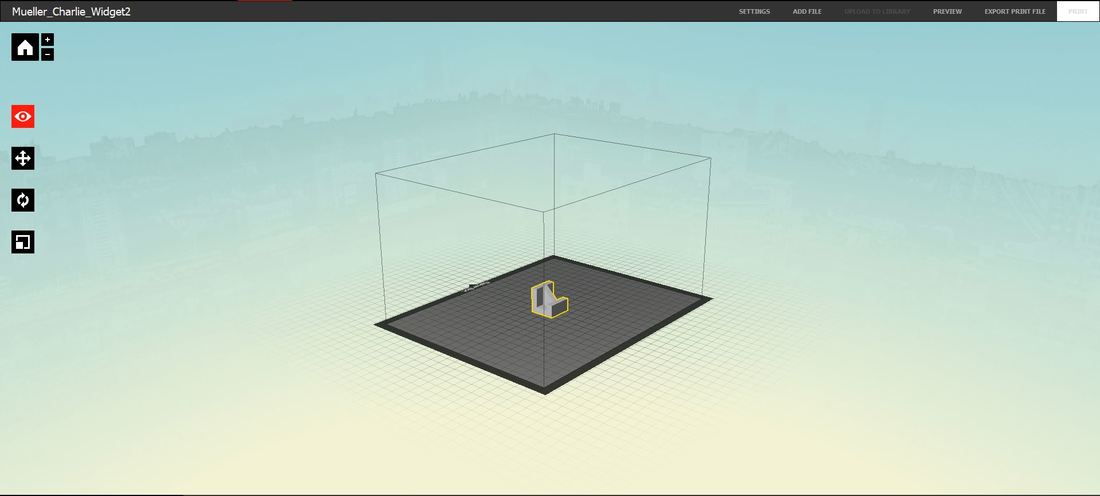
Setting up the print in MakerBot
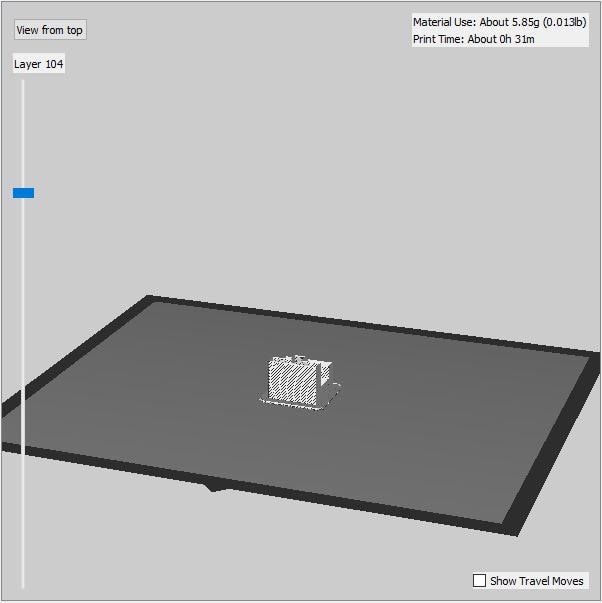
Preview of the print
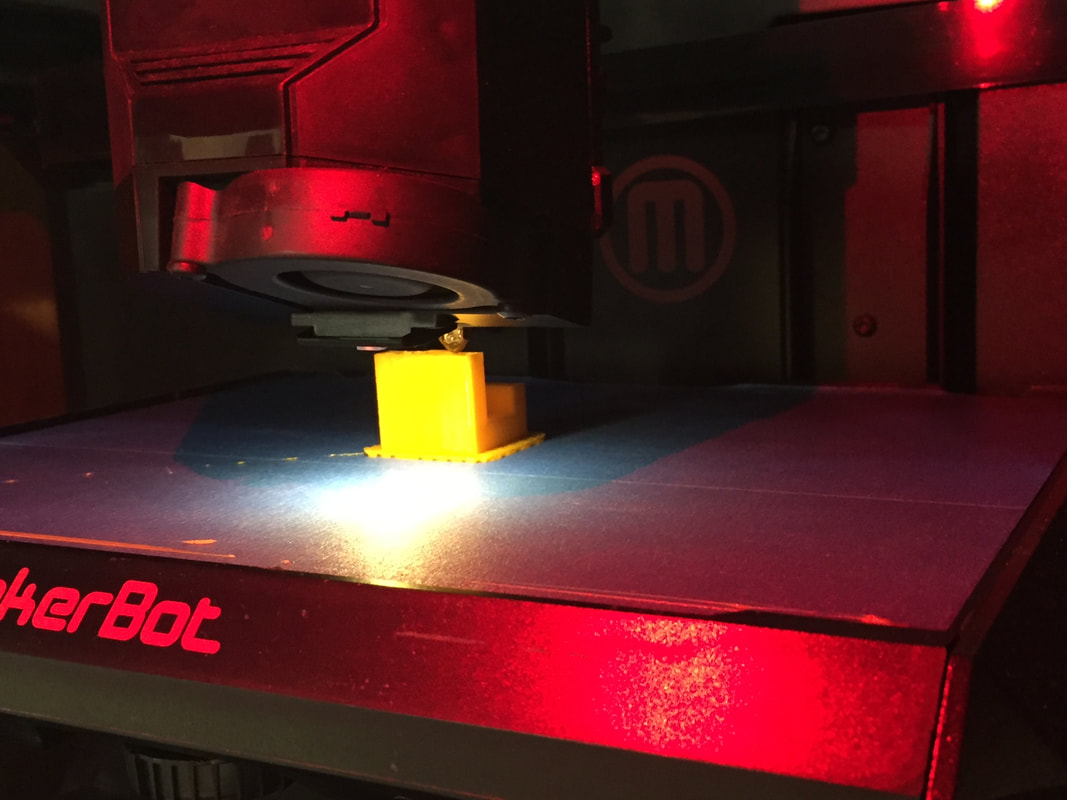
Printing in progress
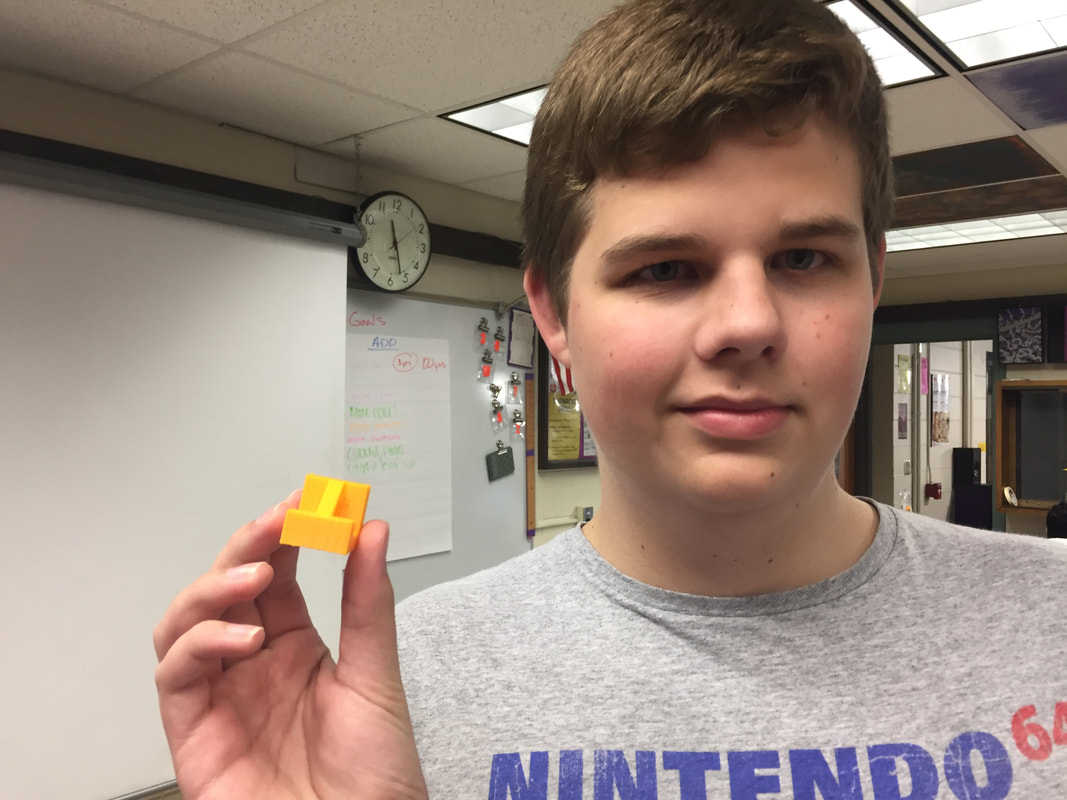
The finished product
What I learned
I have learned a lot from using Inventor and the 3D printer. I have learned how to make a cube and how to extrude shapes out of the cube. I have learned how to use MakerBot and how to set up a 3D print. And finally I have learned how to make a 3d product from scratch.
