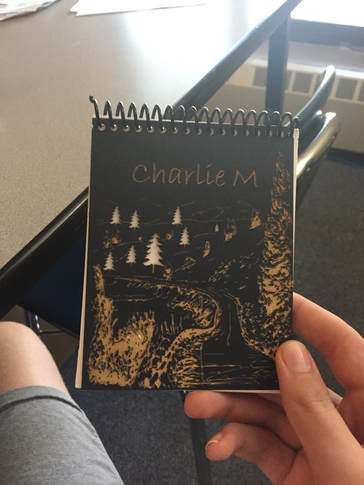
My idea for my notepad
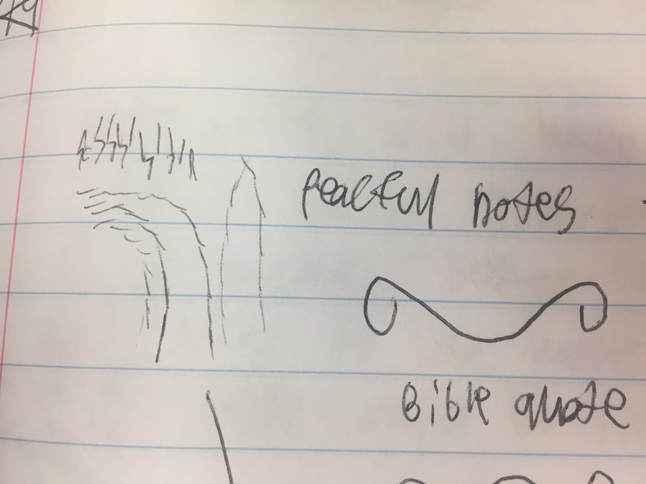
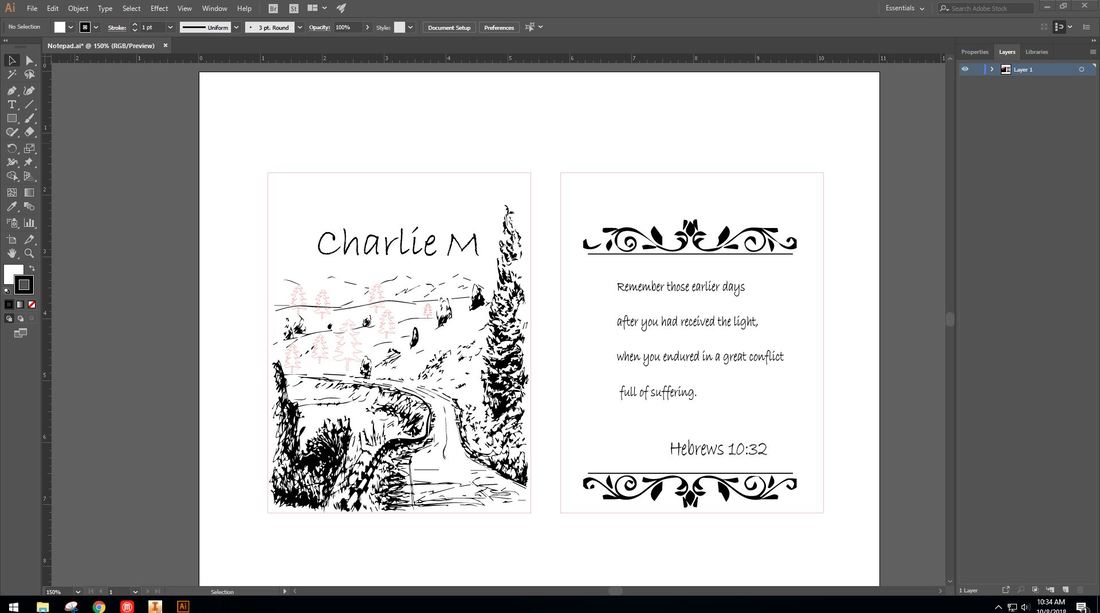
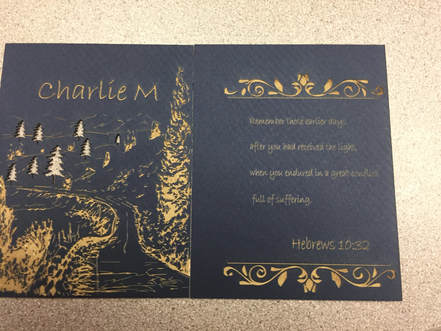
Once I heard that we would be making a notebook for our first project, I knew that I would be using it for more quick sketches rather than notes. This is why I made the front cover a peaceful and beautifully illustrated countryside road.
After that, I wanted the back to have a inspirational quote to inspire me when I feel down. I have been in a church group for a long time, and there we read off bible quotes. That is why I found one, Hebrews 10:32, to use for the back cover quote. Along with this, I added top and bottom borders to make it feel more formal.
Final Design
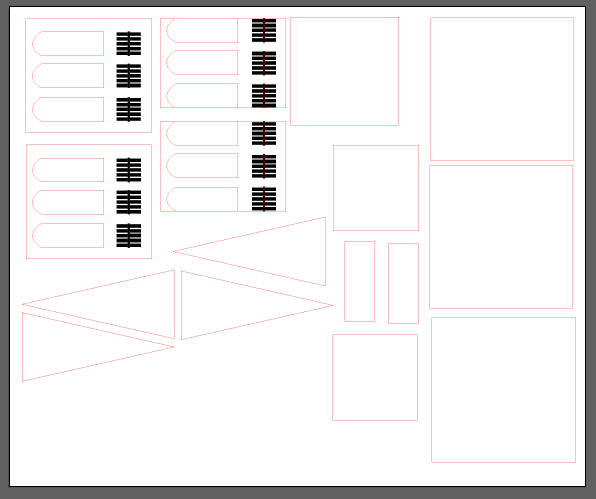
Making the notepad
Once I had my design done, I set up the laser printer for the mat board material and the thinness of it.

After that I opened UCP and lined up the laser with my material in the laser. Then I clicked ok and let it carve out my design.
|
|
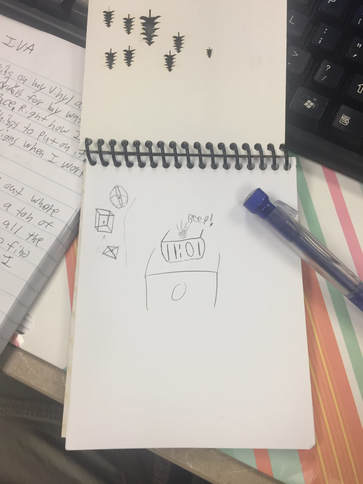
To finish, I cut up 5 sheets of paper into 20 mini sheets, and a hole punched both my mat board and my sheets. Then I entered the coil into the sheets between the covers and I used pliers to finish the coil.
|
|
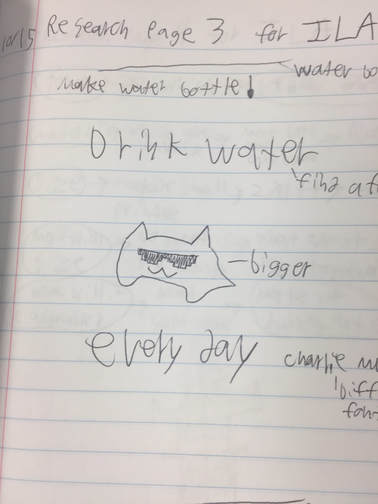
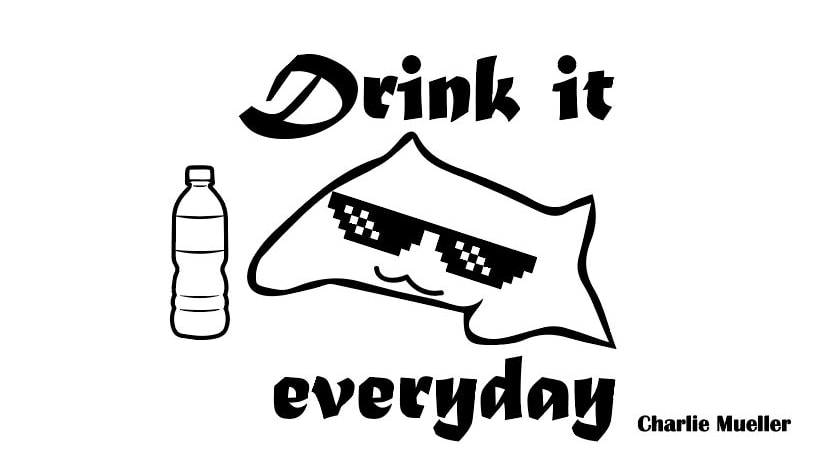
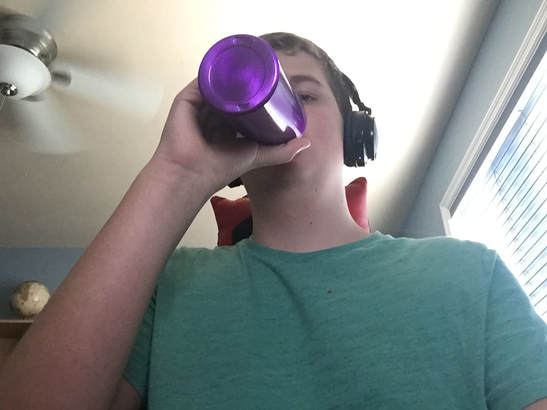
My idea for my water bottle
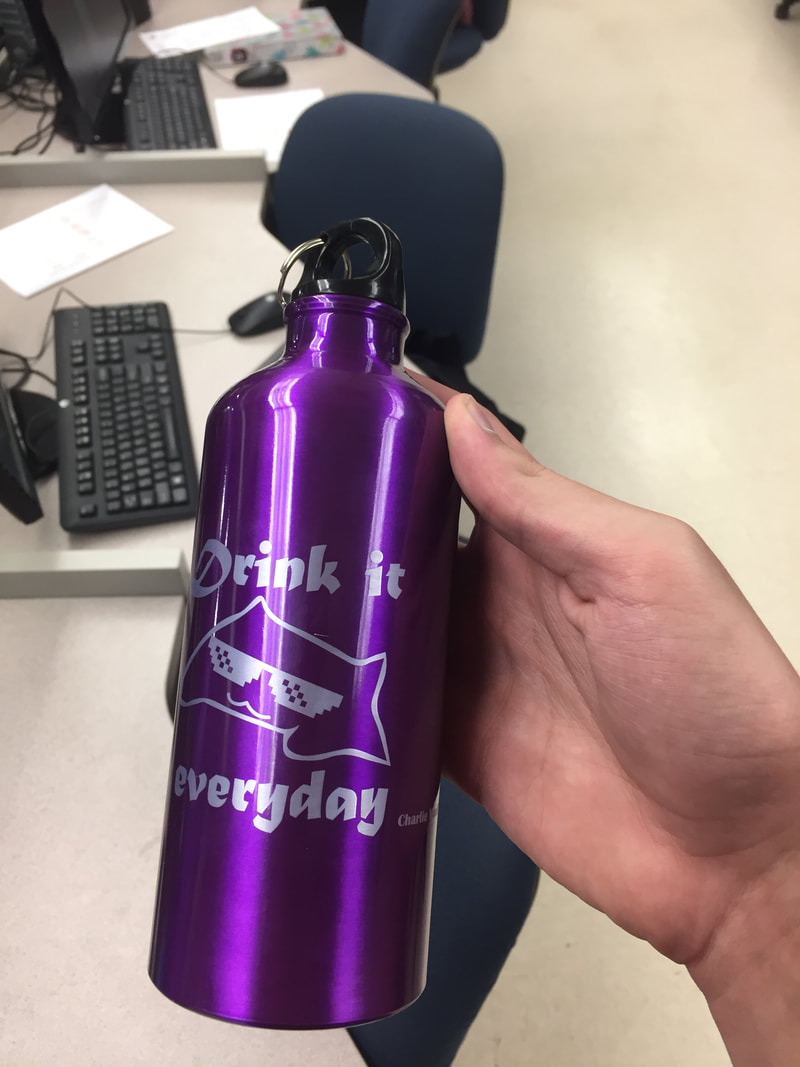
My goal for my water bottle was to have a message that would make me drink more water. I also wanted it to have a meme on it, so a added bongo cat to it as well. I needed to take up more space, so I also added a water bottle for inception.
Final Design
Making the water bottle
After my design was done, I got the water bottle and I put it in the rotary in the laser cutter.
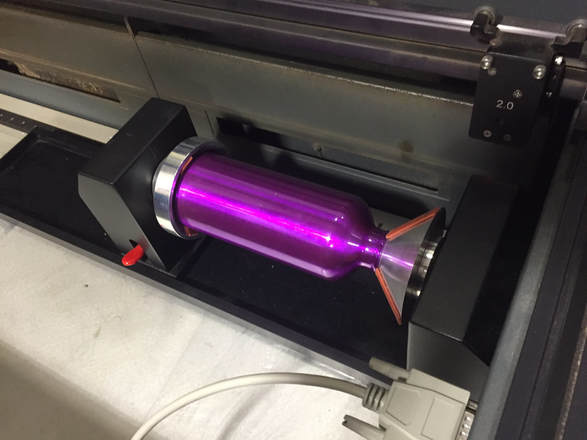
Then I clicked print, entered the fixture type and the diameter settings, and set material type to Anodized Aluminium. After that I opened UCP and I made sure my design would be set on my water bottle correctly.
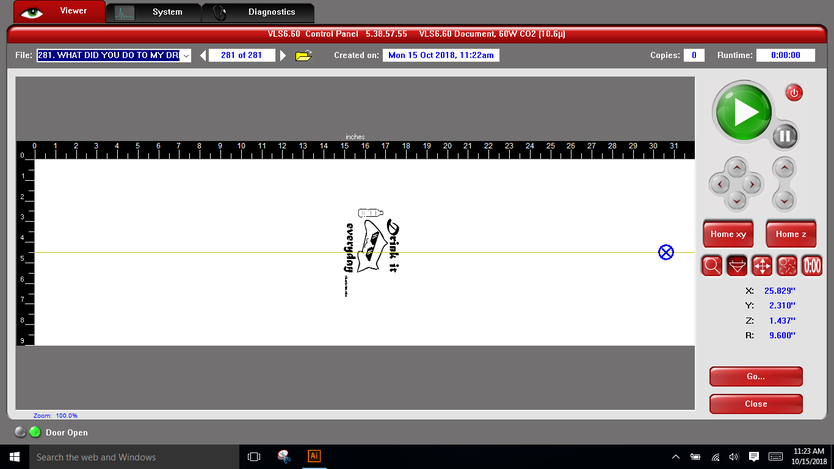
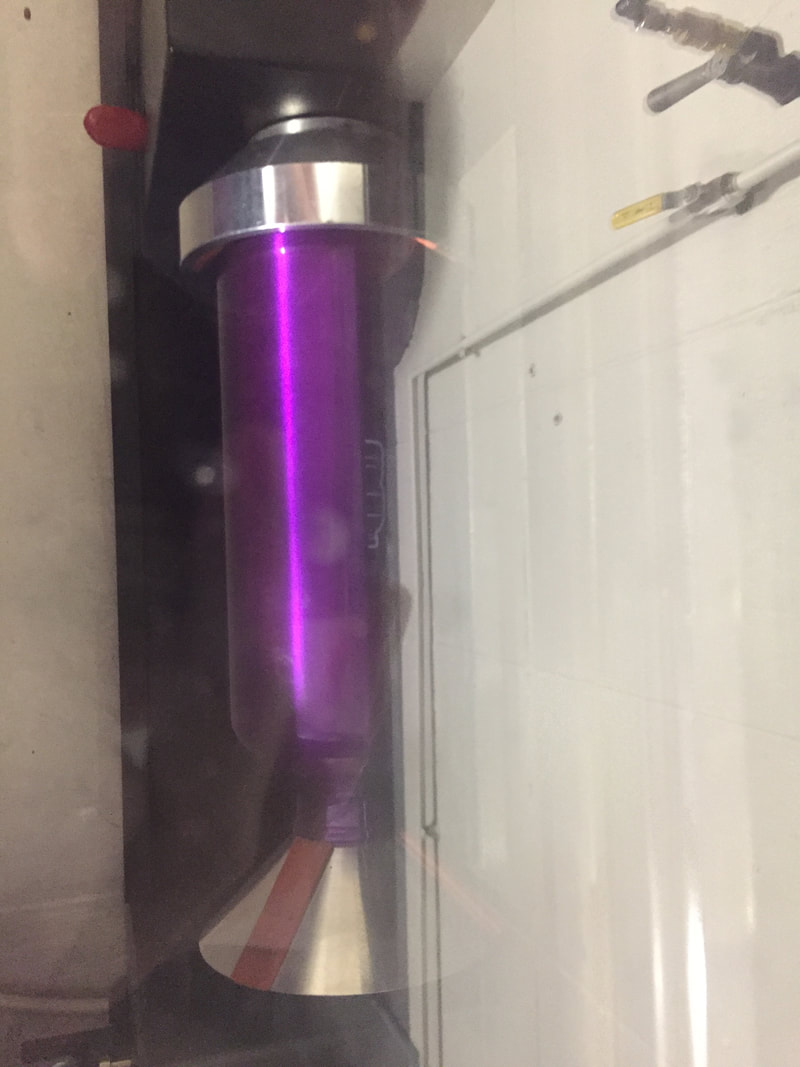
Finally, I click the green go button and I engraved my design into my water bottle.
|
|
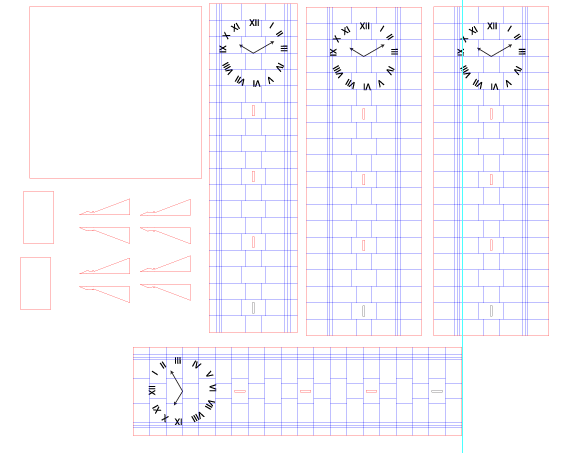
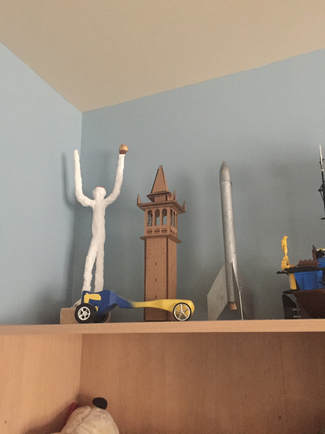
My idea for my tower
For a long time I did not know what I would make for my Thingverse project, but then I found a tower that was very cool, so I decided to rescale it to fit in the small printer. I liked how it was symmetrical and how it looked like it was from a movie.
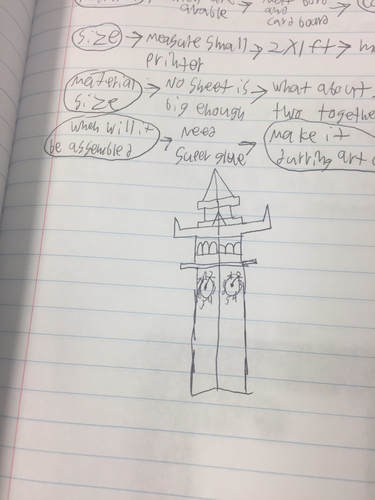
My final design
|
|
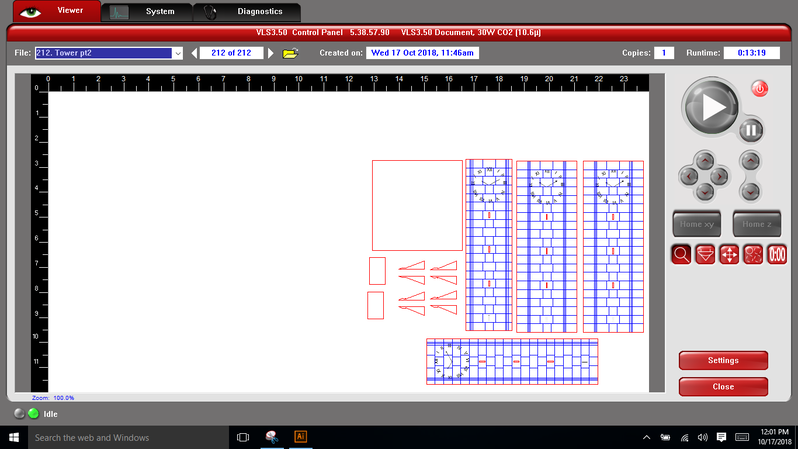
Making the tower
Once I finished my design I click print and I chose my material and thickness. However, I was not able to find a piece of cardboard that would fit it, so I used two sheets to cut out. Then I opened UCP , and made sure my design would fit on the two sheets and click the green go button. Once all the peices were carved out, I assembled them together during Art Club using hot glue.
What I learned
While I have used the laser cutter before, I was able to get more experience with it, which will help me in future projects. I learned about all things you could use the laser cutter for, along with working with the laser with less help from others. I am very graceful that I was able to use the laser to make things that I would be able to keep. Overall, I learned how to more independence with the laser cutter.
