How I made my Brake Bracket
In order to make the BB correctly, I followed the build guide given to us. I made sure that everything was measured right and then I went to Fusion 360 to design the tool path for the mill.
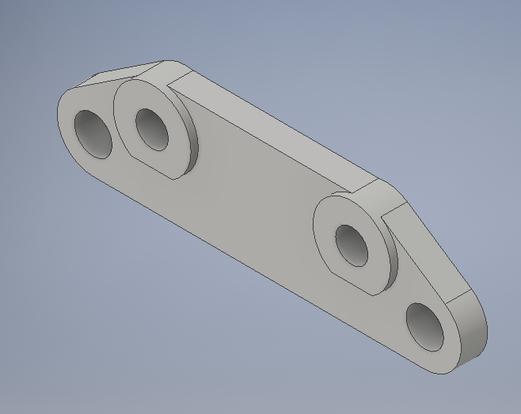
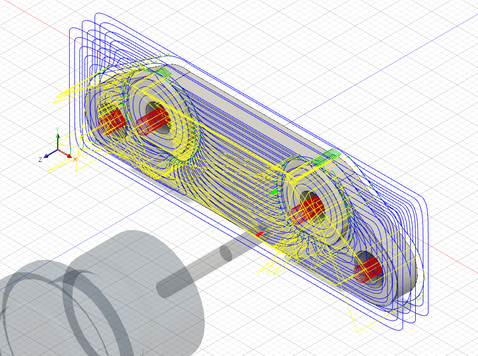
After designing it, I set my stock/measurements, box point, drill bit, depth size, and my tool paths in Fusion 360. At first I forgot to change the stock, so I had to change it to correctly make my BB. After that, I turned it into G-Code, and saved it to my USB.
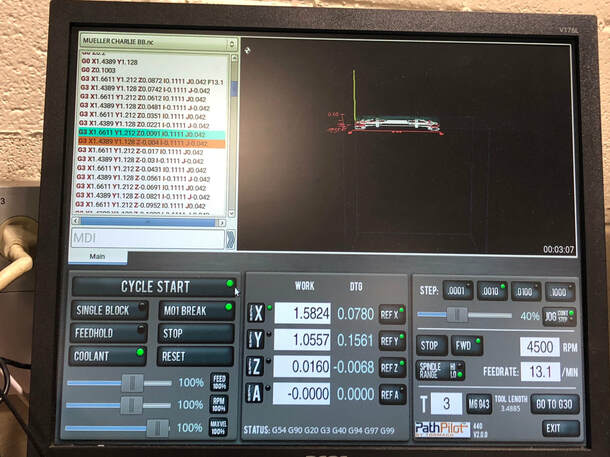
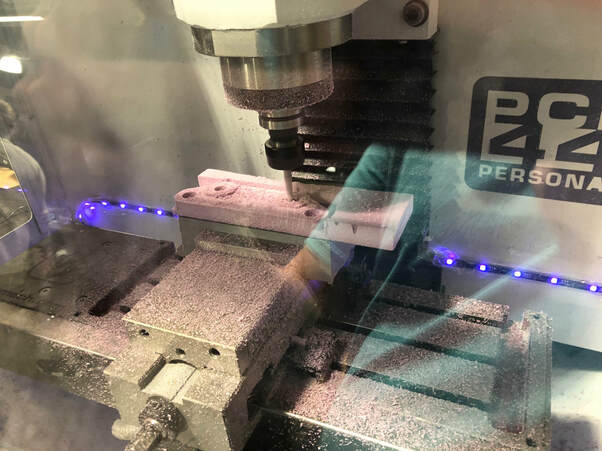
Once I put my USB into the Mill, I transferred my G-Code onto the mill. I put the tape to keep the foam on the platform on the platform. Then I set up the drill to the box-point, which was the bottom-left corner of the foam. Then I set the X, Y, and Z drill coordinates to zero and hit start.
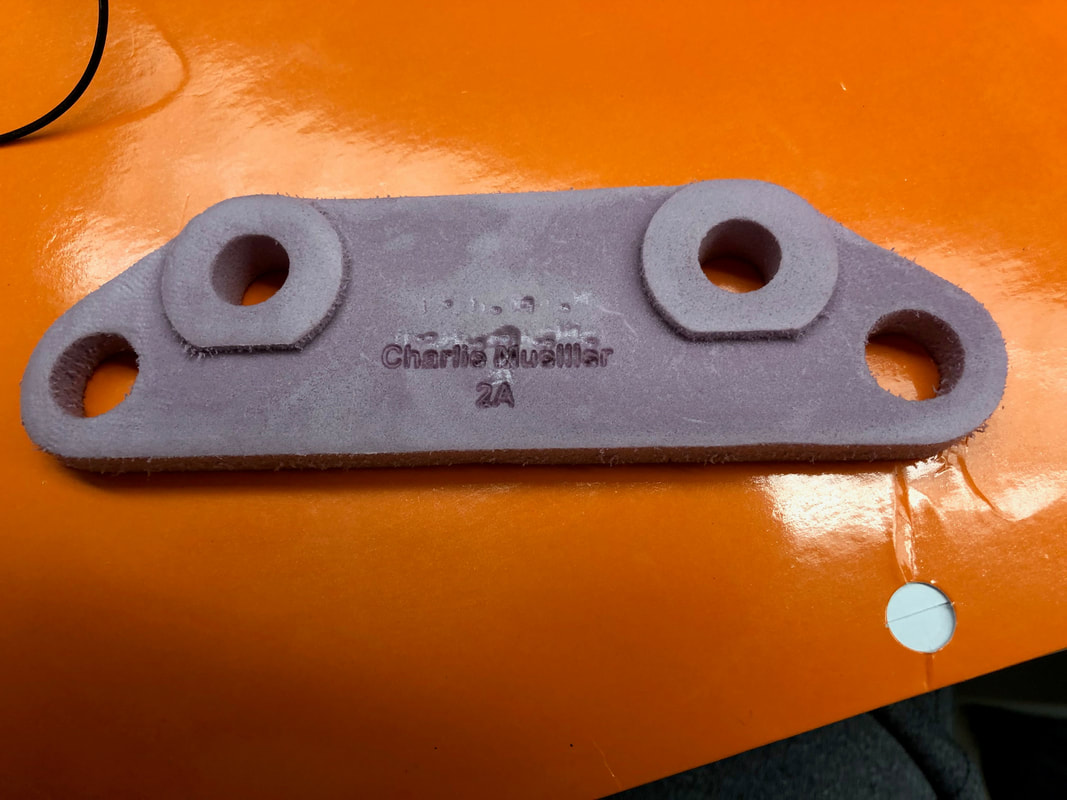
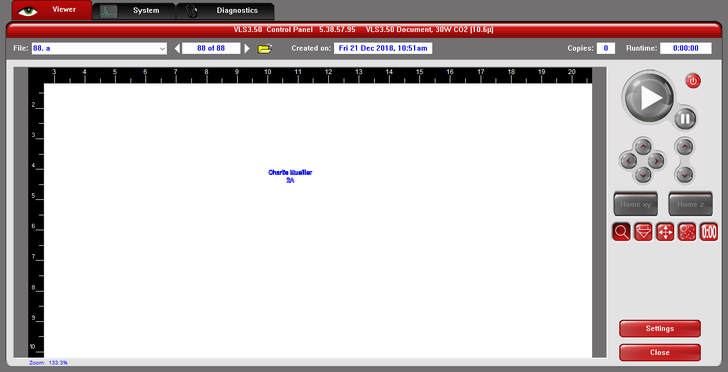
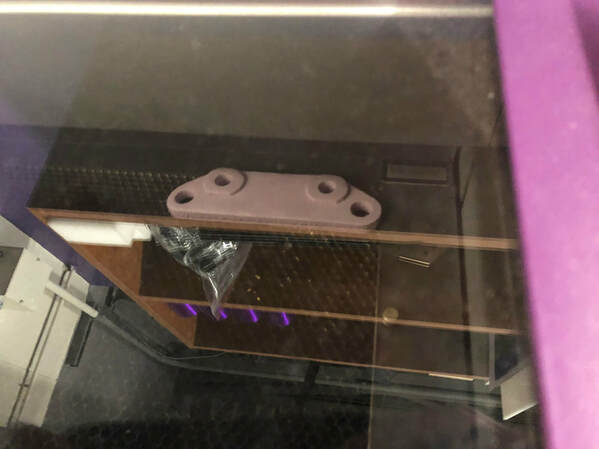
Once that was done, all I needed to do was to engrave my name onto it. I made my name in a blue thin outline in Illustrator and then I set it up along with the BB in the laser cutter. At first it was not working, but with some help, I was able to engrave my name onto my Brake Bracket.
What I learned
Throughout the creation of my Brake Bracket, I learned a lot about the CNC Mill, as I have never used one before. I also learned more about how to use Fusion 360, and to make sure you have everything ready for the Mill before you start carving it out of the martial. I am very thankful that I was able to use the Mill to make my project. Overall, I learned a lot from making my Brake Bracket.