How I made my Maze
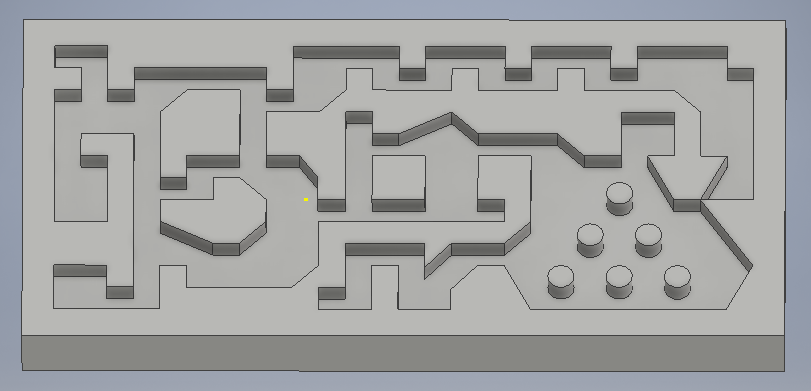
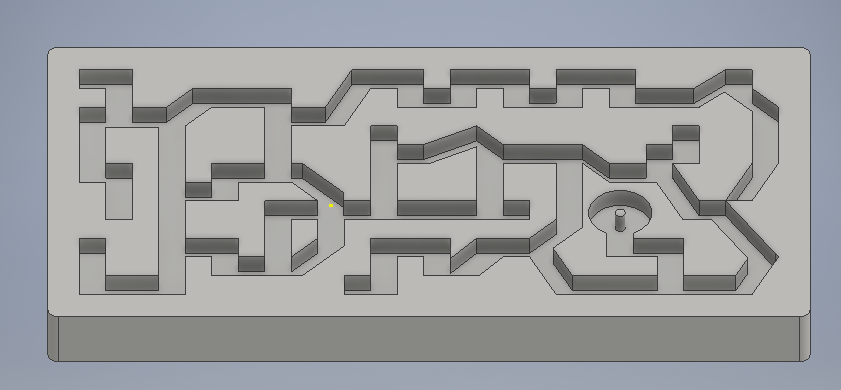
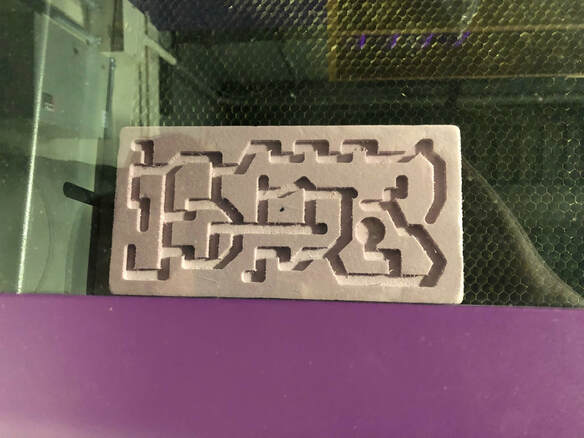
When I learned that I would be making my own maze, I knew that I would make it small and compact, yet through and still fun. Right as I thought I finished designing my maze, I realized that it would not work, as the drill would not have carved the extra space between the charters for the marble. The first image is my old design, and the second image is my new design.
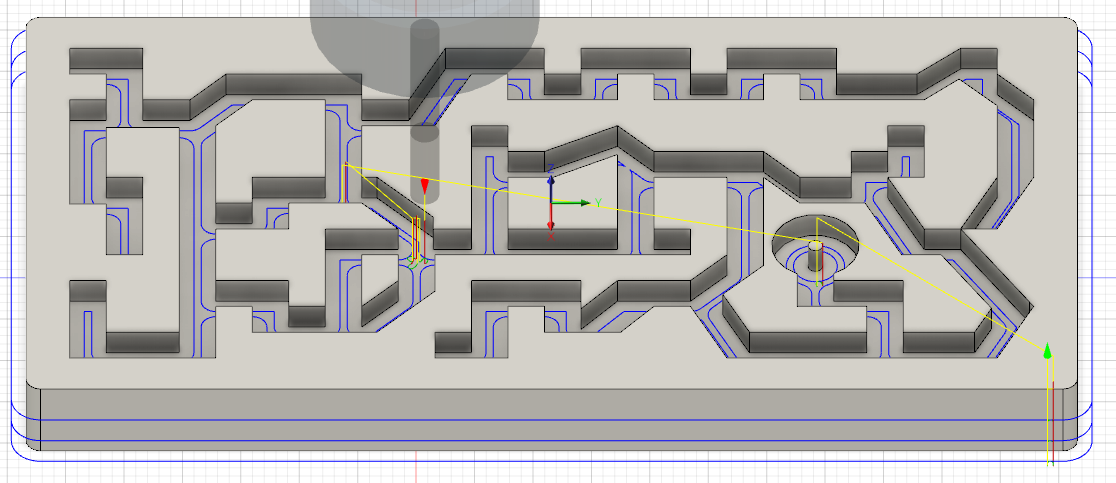
Once I finished my design, I opened it up in Fusion 360. Then, I I set my stock/measurements, box point, drill bit, depth size, and my tool paths for my maze, and made sure that It would work with the Router. Finally, I generated the G-Code for the design, and put it onto my USB.
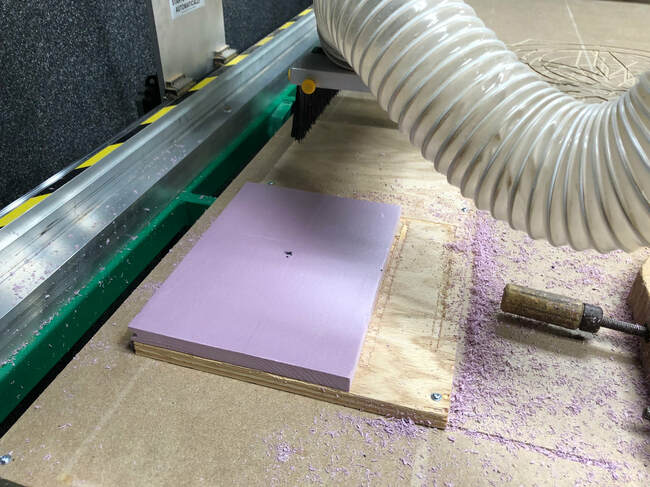
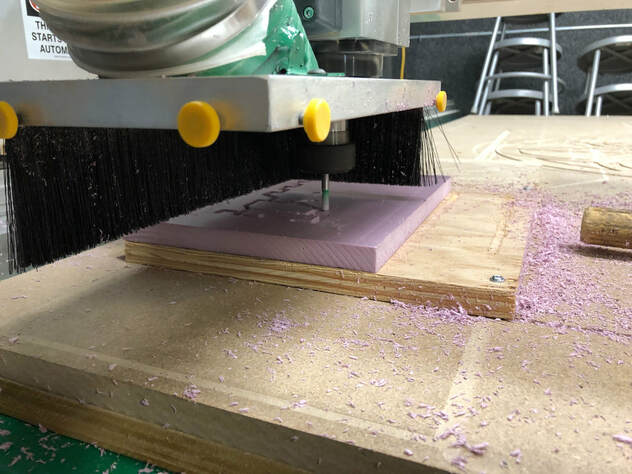
Now that my design was fully ready, I put my USB into the Router, and I open the maze. After that, I put tape on my maze to keep it onto the board when it is being drilled. Then I set the drill bit to the middle of my maze, which I marked with a marker. Then I settled the X and Y coordinates to zero, and did sense z with the sensor. Once all that was done, I clicked go.
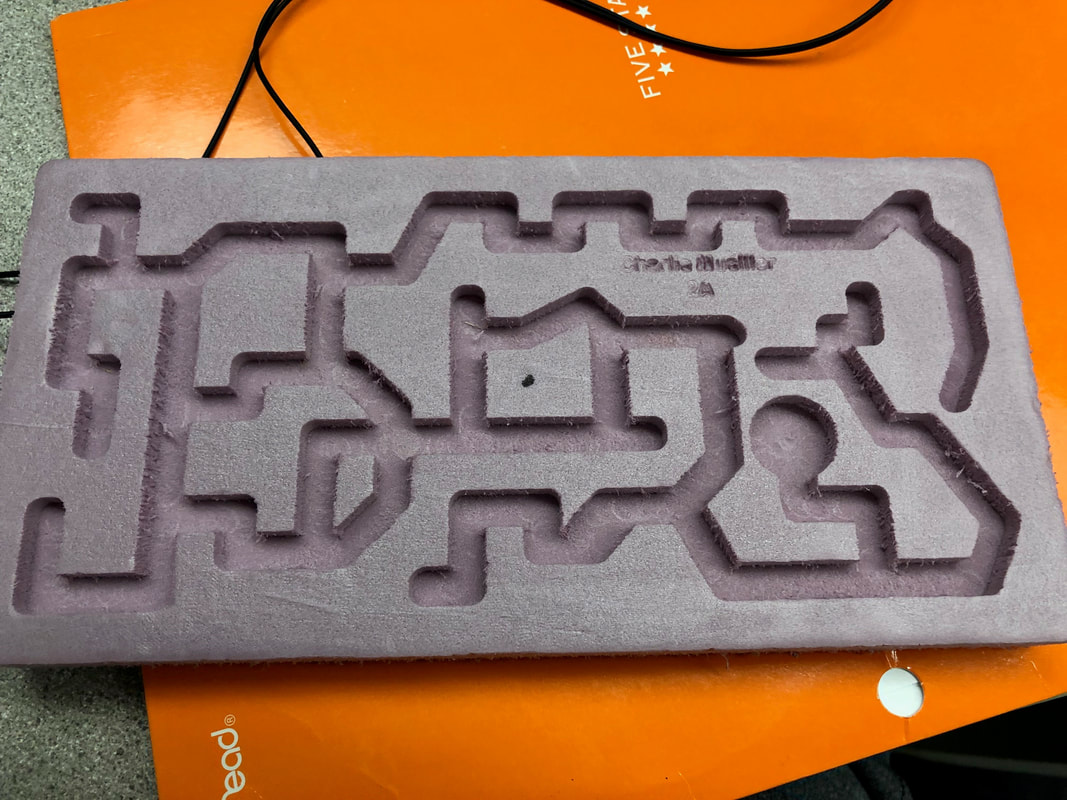
After that, all I needed to do was to engrave my name onto the maze. I made my name in a blue thin outline in Illustrator and then I set it up along with the maze in the laser cutter. After all that, I was able to finish my maze.

What I learned
Throughout making my maze, I learned a lot about the Router, as I have never used it before. I also learned more about how to use Fusion 360, and to make sure you have everything ready for the Router before you start to set it up in Fusion 360. I am very thankful that I was able to use the Router to make my project. Overall, I learned a lot from making my foam maze.