About Illustrator
Illustrator, similar to Photoshop, is a program were you can digital create 2D art using a variety of tools. You can them print this are out using a printer, and you are able to place the design on a 3D object, using a vinyl cutter or a laser printer. Illustrators, Artists, and many other professions use Illustrator for its variety of features and the convenient features to help make art better on the computer than other programs. This is why I am using photoshop to create my acrylic name tag and my name vinyl.
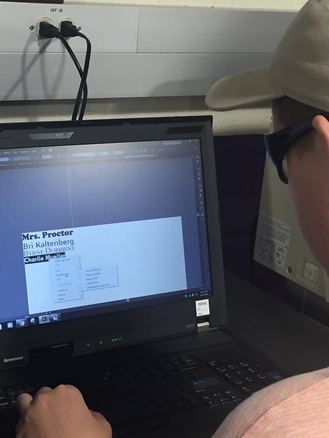
Creating my name tag


|

|
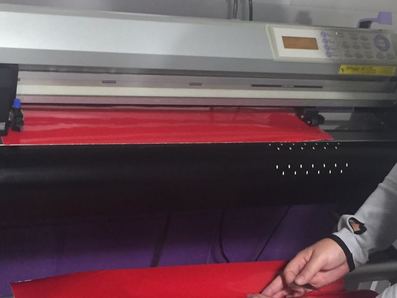
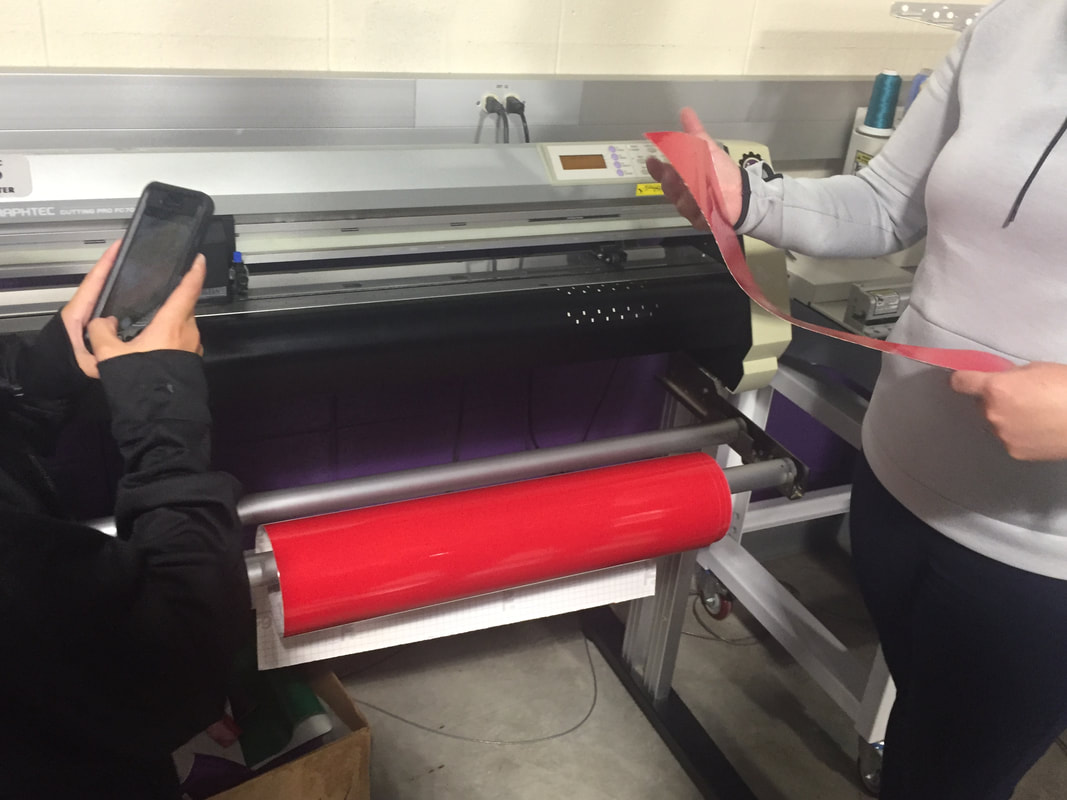
Creating my vinyl
|
|


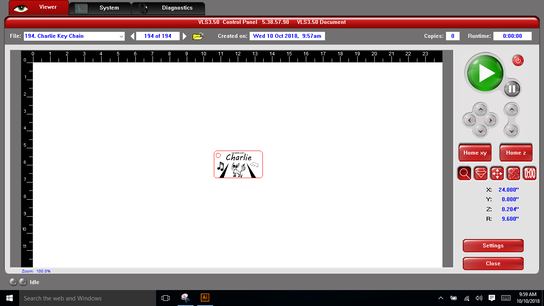
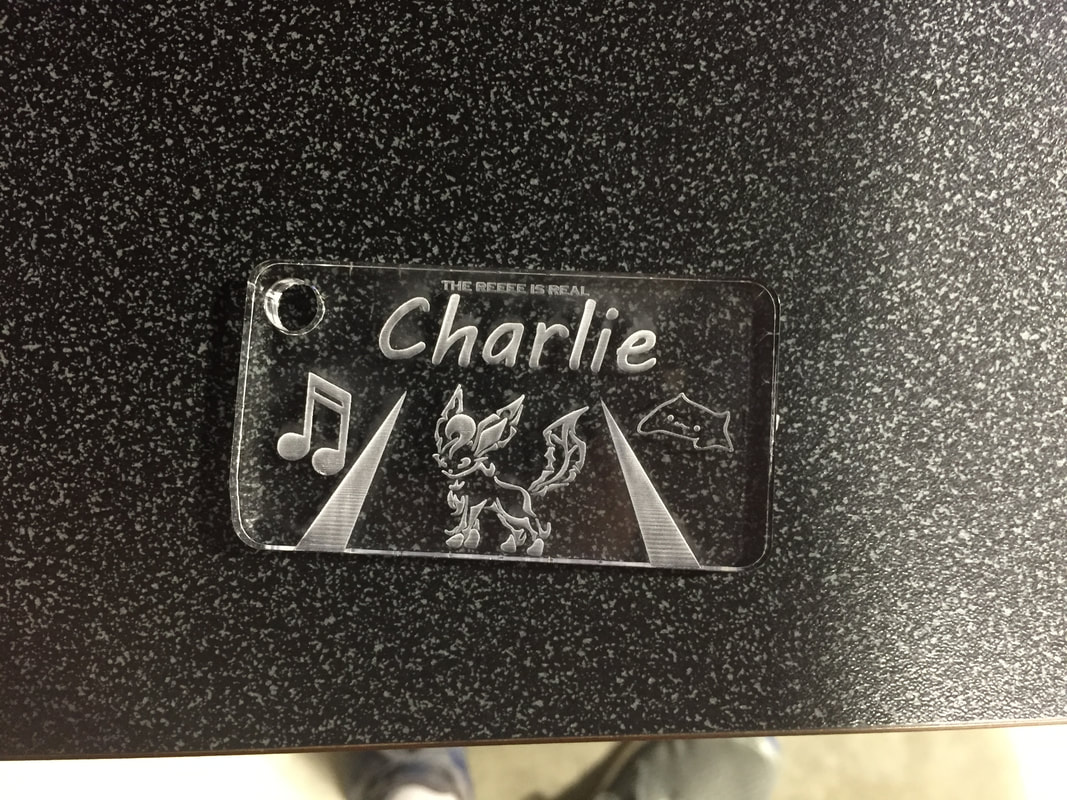
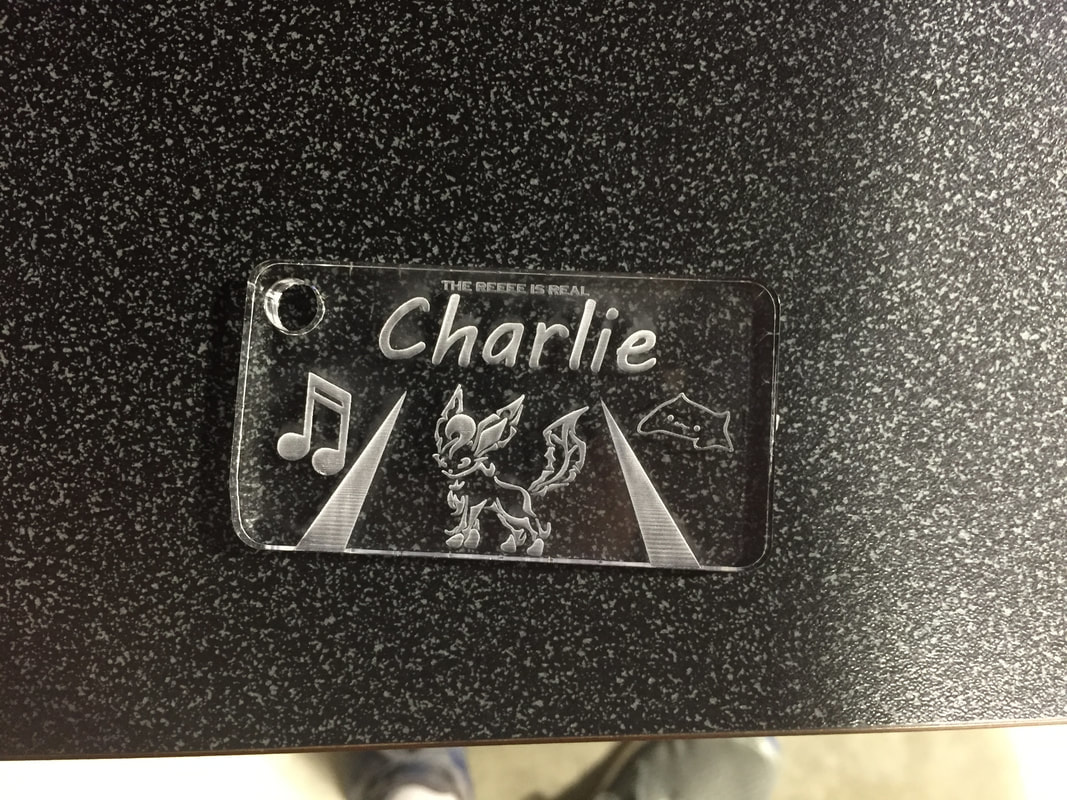
Laser key chain.
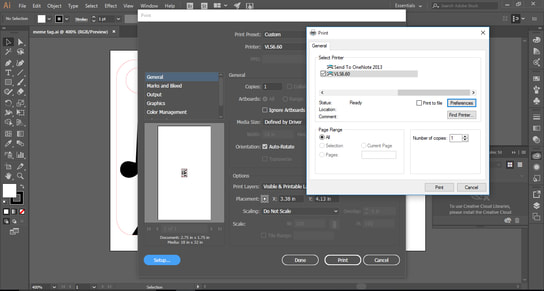
When you have your laser design done, go to the laser printer, and get a rectangle of Acrylic Plastic. Open your design in Illustrator and click print, chose printer VLS6.60, settings, and to preferences.
After that, select your material by selecting Plastic, Acrylic, Extruded Acrylic. Then use a Calculator to measure the thickens of your plastic rectangle and type it in.
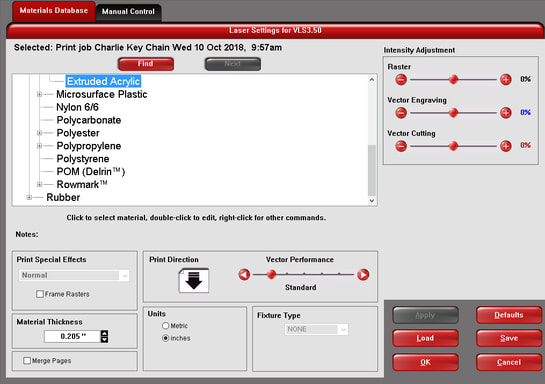
Next, click ok, print, and print again. Then open the UCP software. Put the rectangle in a corner of the printer and close the lid.
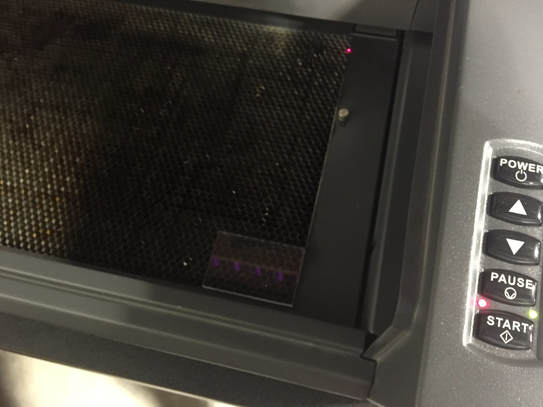
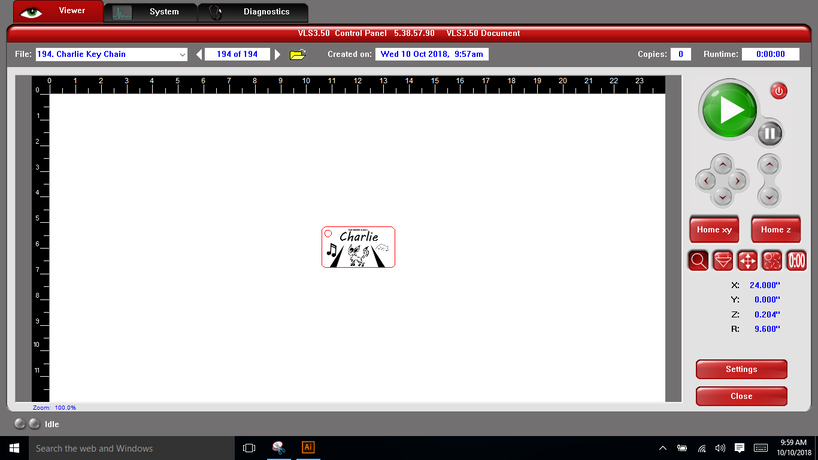
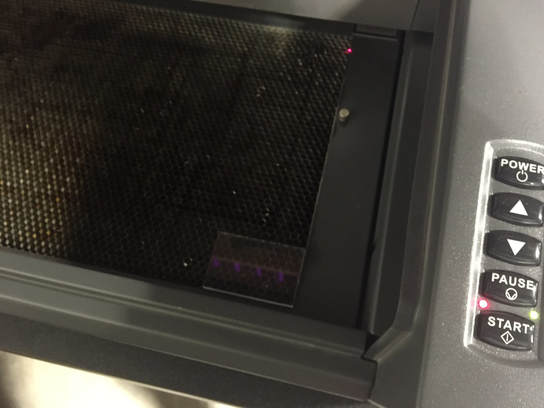
Click the red power button right of the green print button to turn on the printer. Make sure that the exhaust is on as well. Then click the second red button in the row of five to use your mouse or your arrow keys to move the laser on a corner of the plastic. Once that is done, click on the middle one, and click on all the corners one by one to make sure that you lined it up with the laser correctly. Then hit the gren button to start making your key chain.
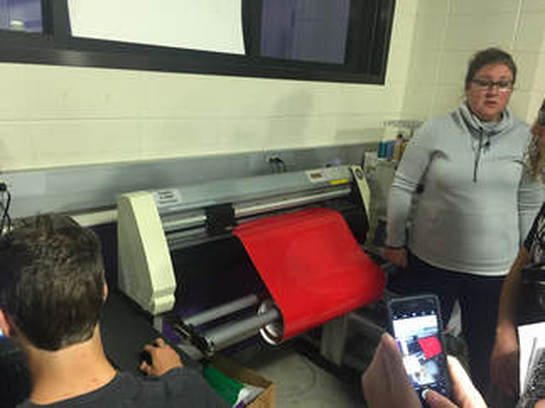
Making the vinyl sticker
First get the vinyl roll in the cutter by pushing the purple lever to put down the wheels. Put the roll in, and press the button next to Roll 1 front setting, along with pressing enter. When you have your vinyl roll in the cutter, open your design in Illustrator which should be in a corner so it does not waste the vinyl.
|

|
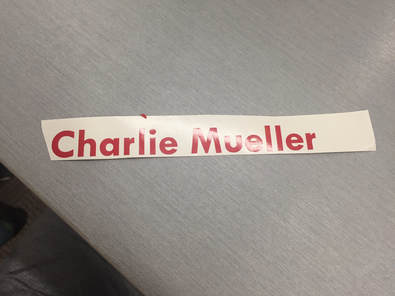
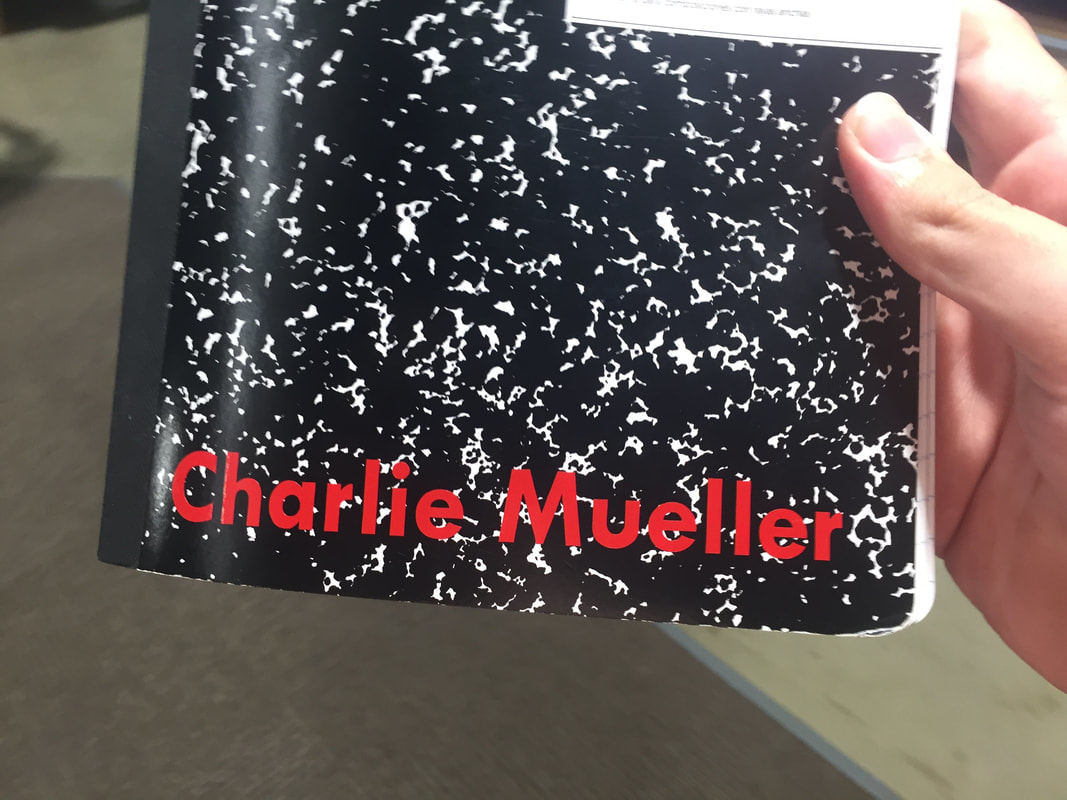
After that, click file, print, and select Cutting Master 2 for the printer/cutter, along with clicking Cut Plot, and make sure that the size matches the roll. Then check the cutting area icon and the rotate icon to make sure it matches where your design is. After that, click send, and once it is carved, use a blade to remove your design from the roll.

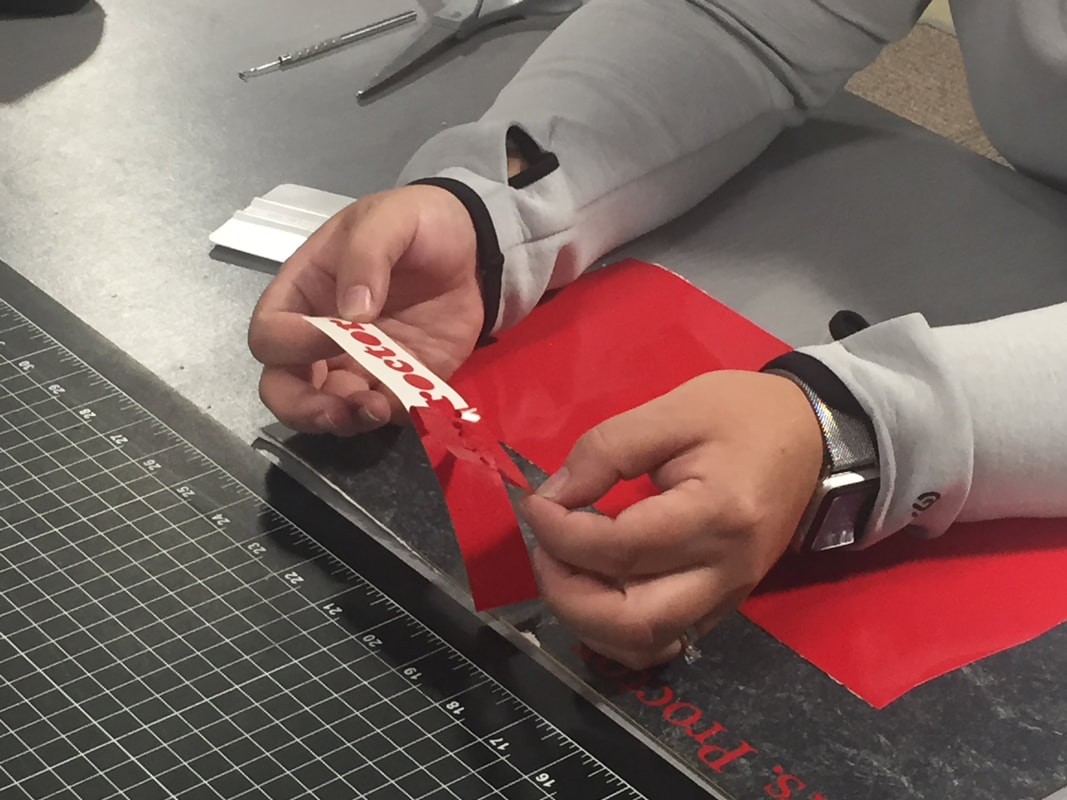
After you have the piece, put the transfer tape on top of the design, and flip it over, and use a applicator before you peal off the background. Then use a scalpel to remove the space in between the design if there is any.

Then place it on top of where you want the design and use the applicator before you peal the tape from your finished vinyl project.
What I learned
While I have used Illustrator before, I still learned hot to use a 3D printer and a vinyl cutter. This is very important, as my future projects involve me using these machines more than once. I am supper thankful that I was able to access these machines and to be able to use them for my future projects. Overall, I did not learn much about Illustrator, but that was compensation for the amount I learned about the 3D printer and the vinyl cutter.
