My idea for the clock
|
|
When I learned that I would be making a clock, I knew that I would make it by using the 3D printer, the laser cutter, and the vinyl cutter.
Step one: Using the laser cutter
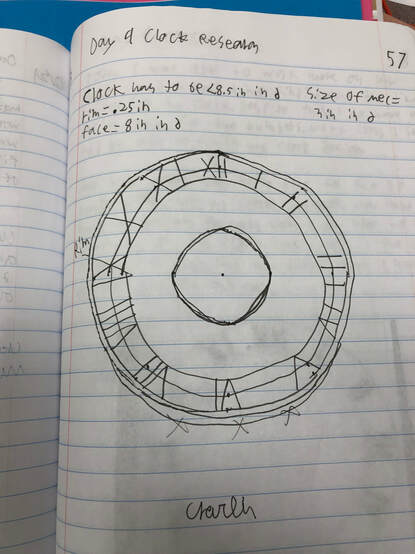
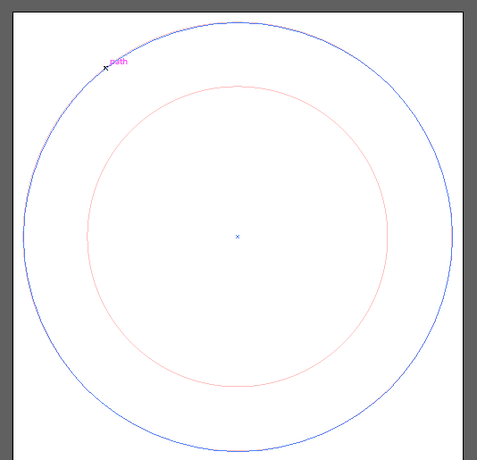
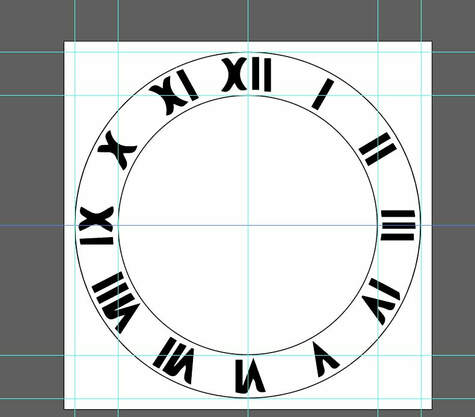
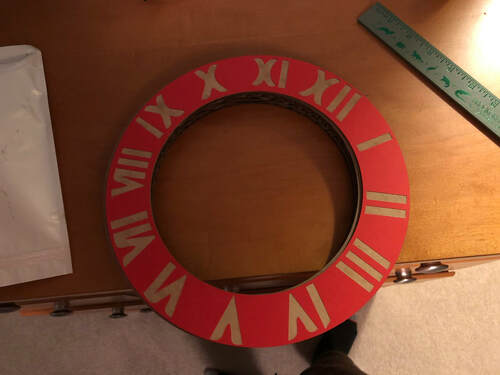
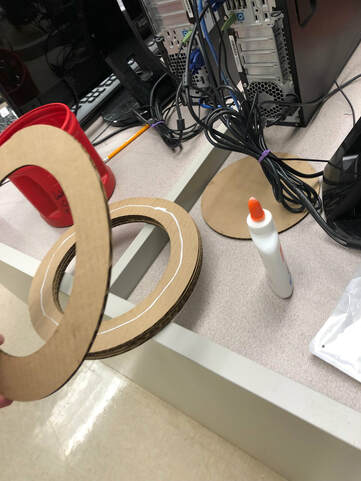
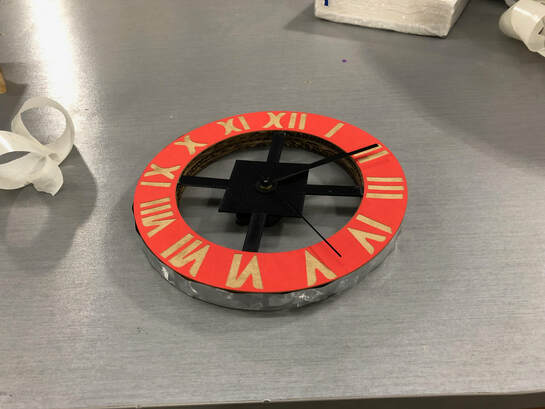
For the laser cutter, I decided to cut out many rings, as I wanted some space inside the clock. For the face of the clock, I used the same design of the rings, but I added roman numerals to it.
Once I had my designs done, I set up the laser for my cardboard first and made my rings. The cardboard was just pig enough for my design.
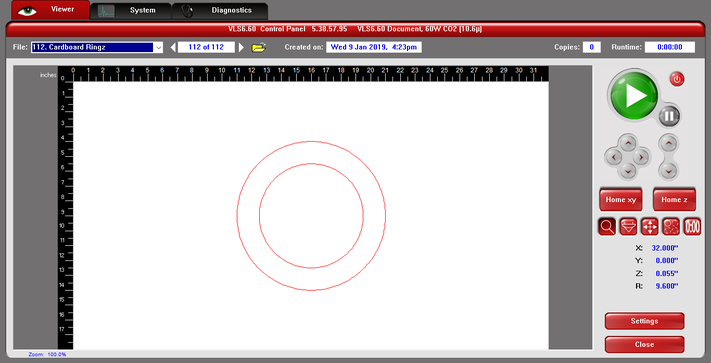
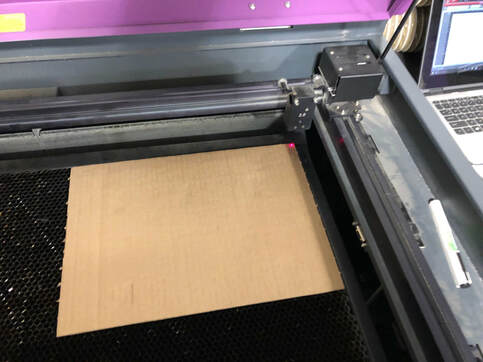
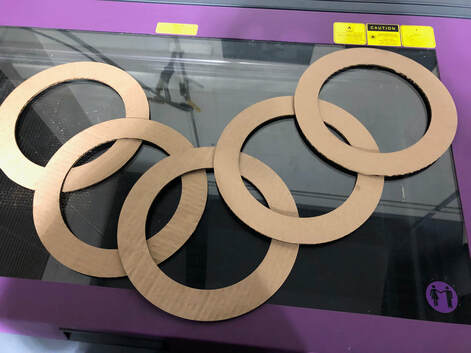
After that, I changed the thickness and material to my mat board, and I did the same procedure as before.
Step two: Using the 3D printer
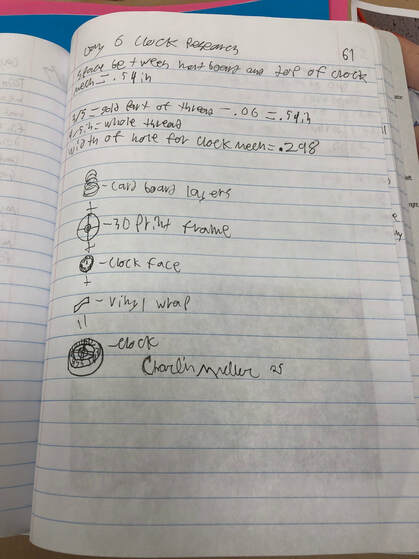
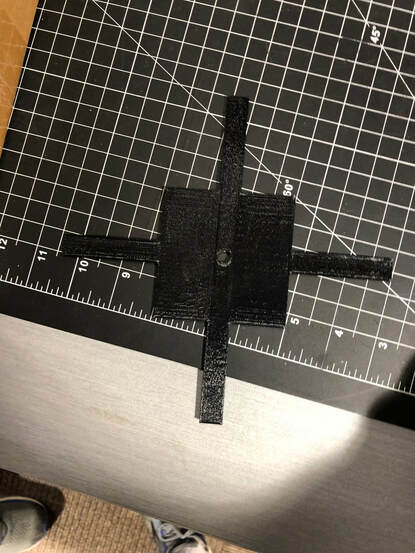
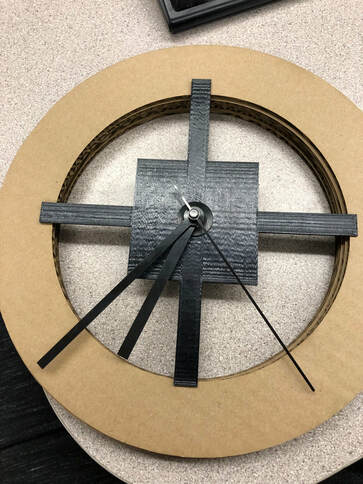
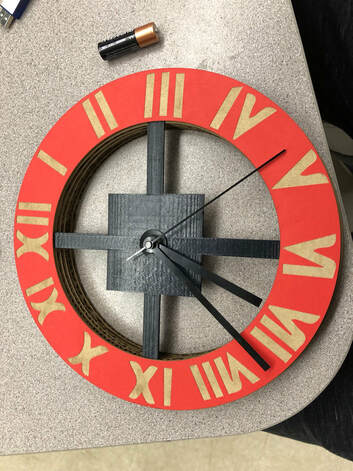
I used the 3D printer to print out the middle of my clock, which would hold the clock mechanism in the center of the clock. I designed a cross hair shape object with a hole in the middle for the thread.
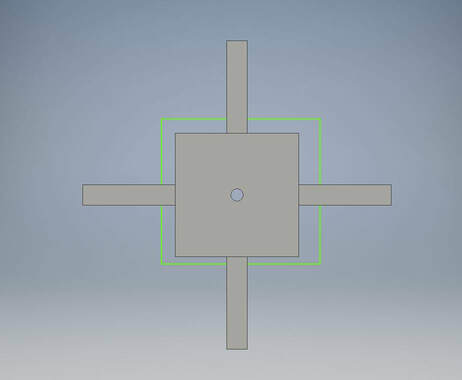
After that, I set it up for the printer in Makerbot. I made its total width 7.5 inches

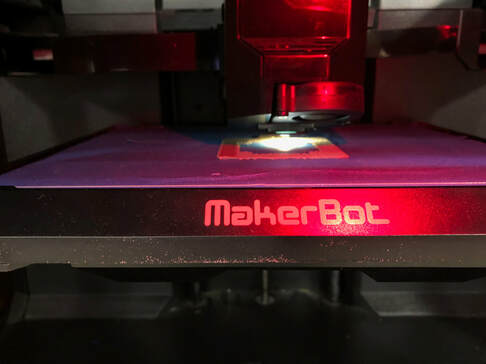
Then, I put it onto my flash drive and I went to a 3D printer. I opened my file on it and I printed out my center of my clock.
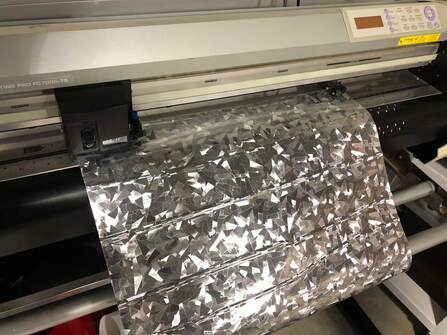
Step three: Using the Vinyl cutter
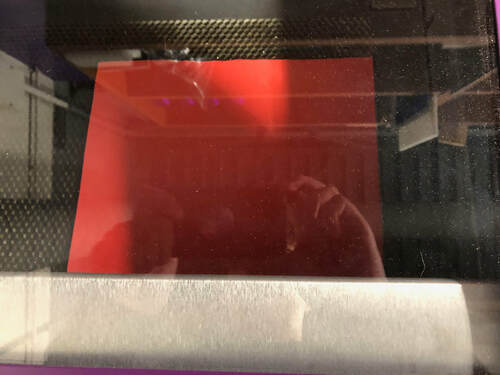
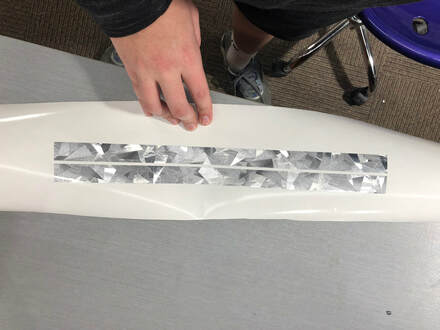
I used the vinyl cutter to cut out strips to wrap around the cardboard rings of my clock. The design was pretty simple, but I had to make sure that I had the right measurements for them.

After I finished my design, I went to the vinyl cutter and I loaded up my file. I selected the vinyl roll I wanted to use, and I got it set up with the cutter. Once I made sure all my settings were correct, I hit send and I made my vinyl strips.

Step four: Assembly
To assemble the clock, I glued the cardboard rings together, and then glued the center of the clock in between the face and the rings. Then I put the clock mechanism underneath the center of the clock, and got the hands and battery set up. Finally, I wrapped the vinyl around the cardboard rings.
|
|
|
|
What I learned
I learned more about using multiple machines instead of one to make a more complex product. I also learned that those machines have many uses in making part of a product. I am super thankful that I was able to use all of these machines in order to make my clock. Overall, this project let my use my full creativity to produce the clock that I wanted to make.

