My idea for my Vinyl
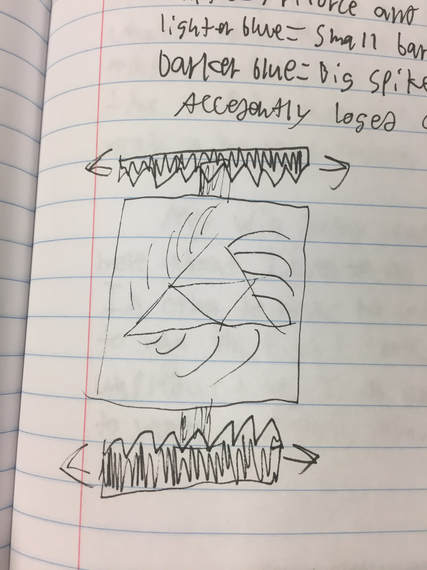
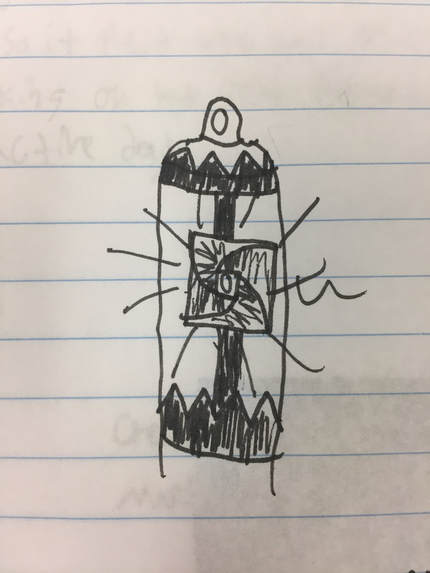
When I learned that I would be making a vinyl for my second rotation, I knew that I would be putting it on my water bottle I just made. It was full with water, but it was empty in terms of a full design. This is why I wanted to make my vinyl wrap around my water bottle, so it would look more decorative. Along with this, I also wanted it to look cool, so I decided to try to put a optical illusion onto it.
|
|
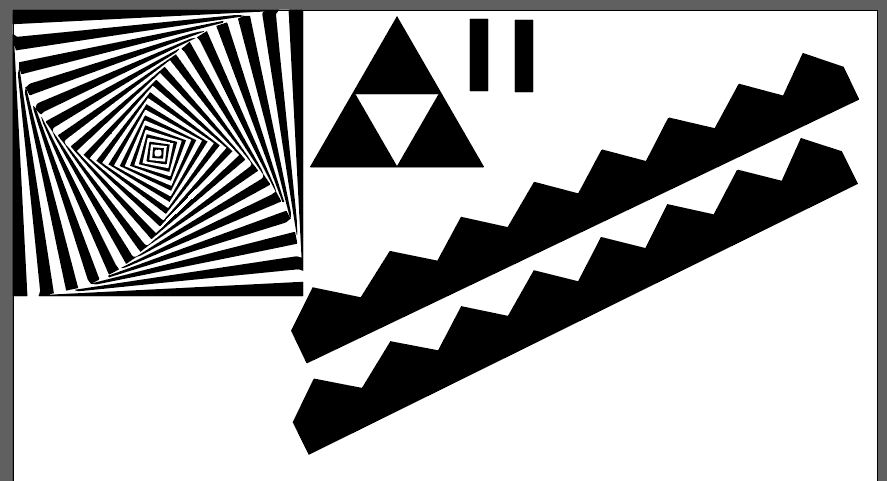
My final design
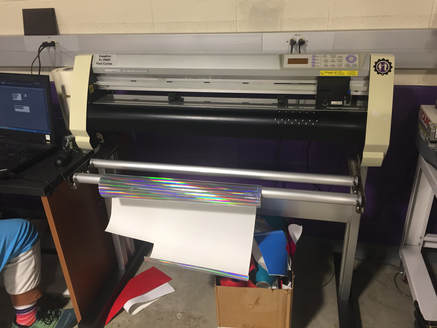
Making the Vinyl
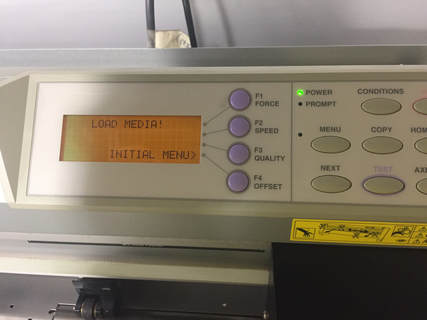
Once I finished my design, I went down to the vinyl cutter and chose the rolls of vinyl I wanted to use, I loaded the first roll into the cutter and set the cutter up so that it was ready to print.
|
|
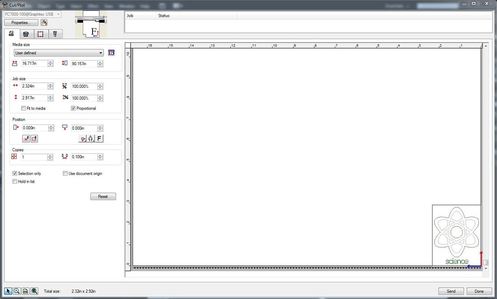
After that I opened my design in Illustrator and I put each design on a different art board based on color. Then I selected the design I wanted for my roll and opened up Cutting Master. Then I made sure the size, location, and the rotation of the design was right, and I clicked send. I did this for the other two rolls/colors as well.
|
|
After that, I used a dental tool to weed out the background of the designs.
|
|
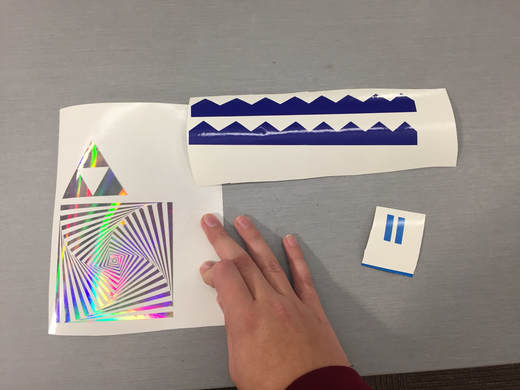
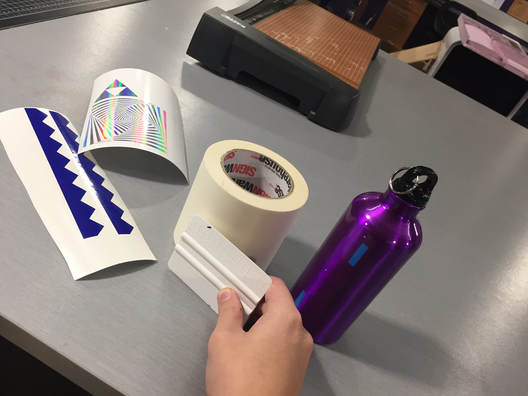
Along with that, I put transfer tape on the designs and used the applicator to make sure the vinyl would stick to it. Then I applied my design to my water bottle
My final design

What I learned
In this rotation, I learned more about the vinyl cutter, as I only used it for one project so far. Now after going through the cutting processes three times, I feel more confident about using it in future projects. I am also graceful that I was able to use this machine. Overall, I learned a lot about the Vinyl process while in this rotation.
